Send Your Orders via the Interparcel Shipping Manager
The Interparcel Shipping Manager serves as your central hub for processing all orders efficiently. Whether your orders originate from an eCommerce store, a CSV upload, an API integration, or are manually created, our Shipping Manager streamlines the process, allowing you to fulfill high volumes of shipments quickly and easily.
Follow these steps to start sending orders through your Shipping Manager:
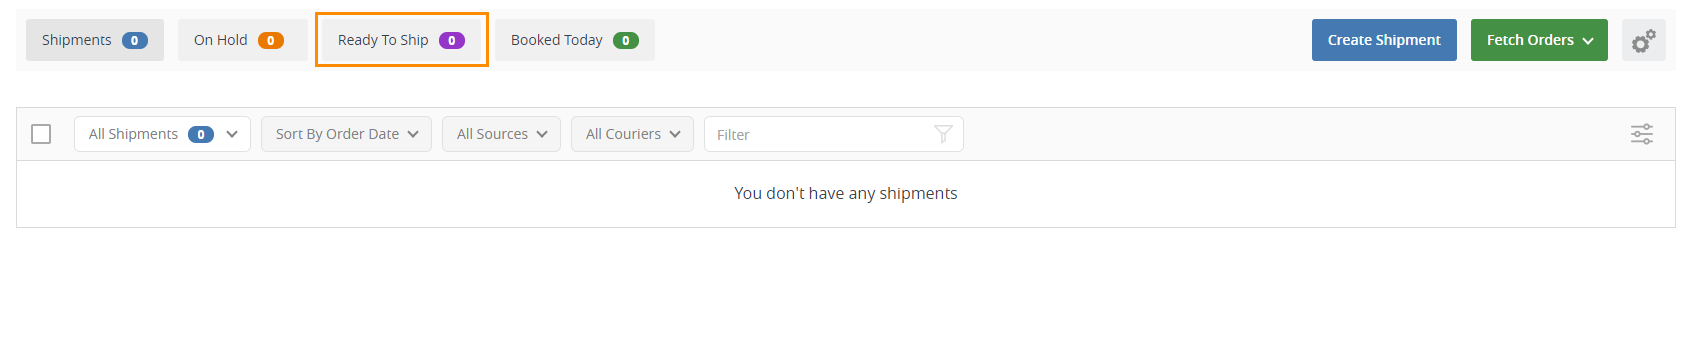
- To access the Shipping Manager, log in to your Interparcel account, hover over My Shipping Tools, and select Shipping Manager. If you've integrated your Australia Post account, a Ready To Ship tab will appear within the Shipping Manager section. For further details, refer to the relevant Australia Post booking guide: MyPost Business or Parcel Contract (eParcel).
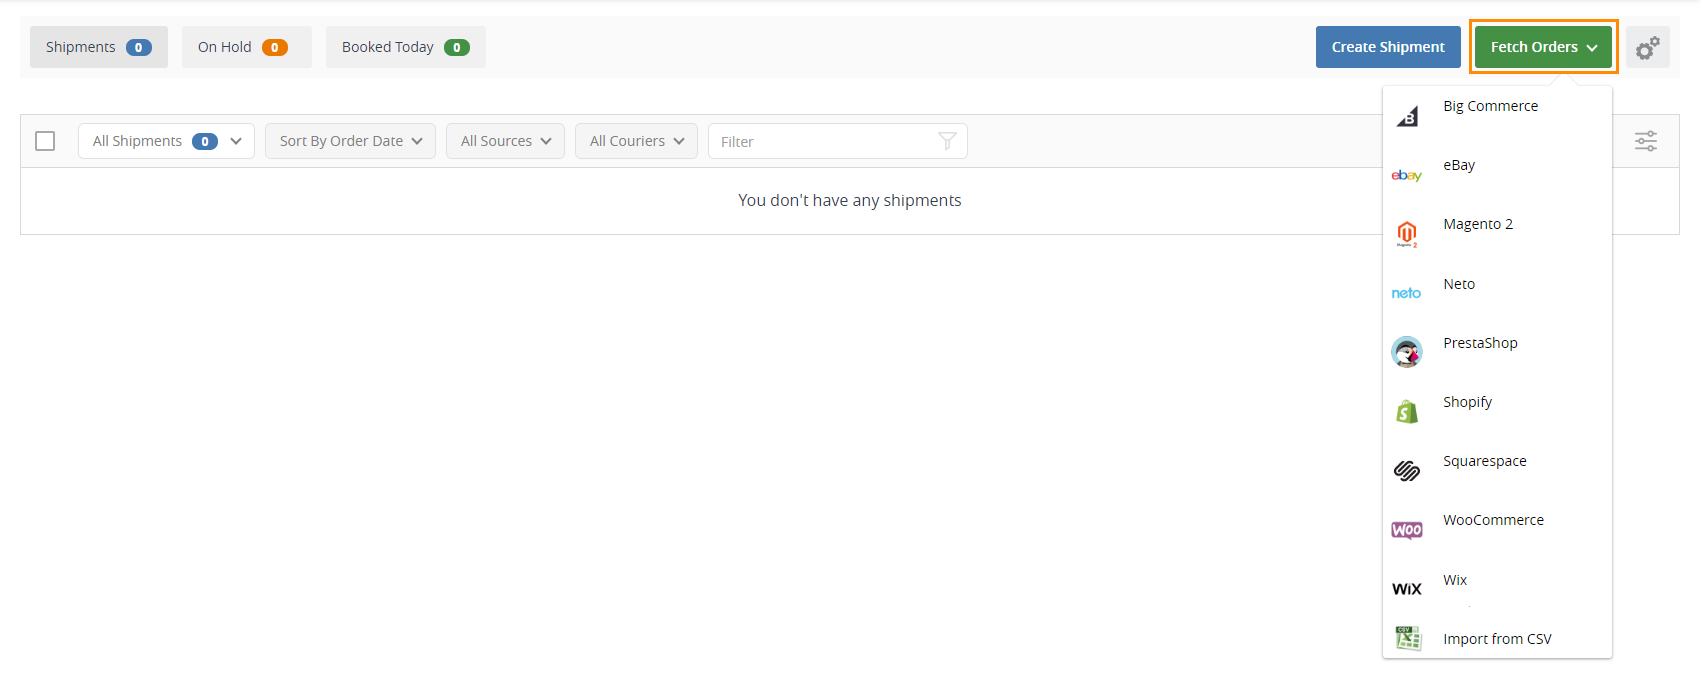
- To import your orders, click Fetch Orders and select your eCommerce platform. If your store is not displayed, you’ll need to connect your store first. Alternatively, you can upload orders via CSV or create orders manually using the Create Shipment button.
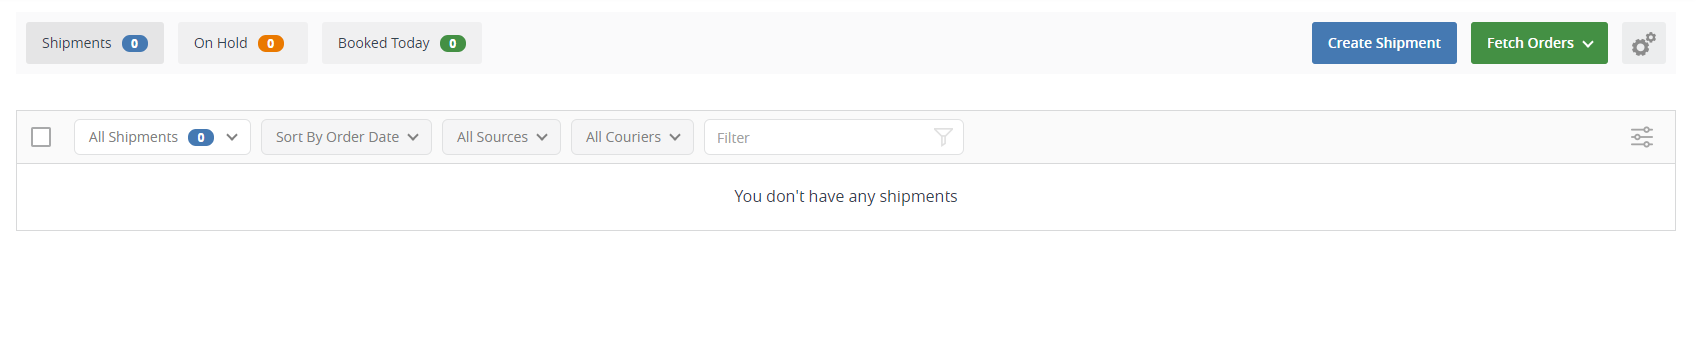
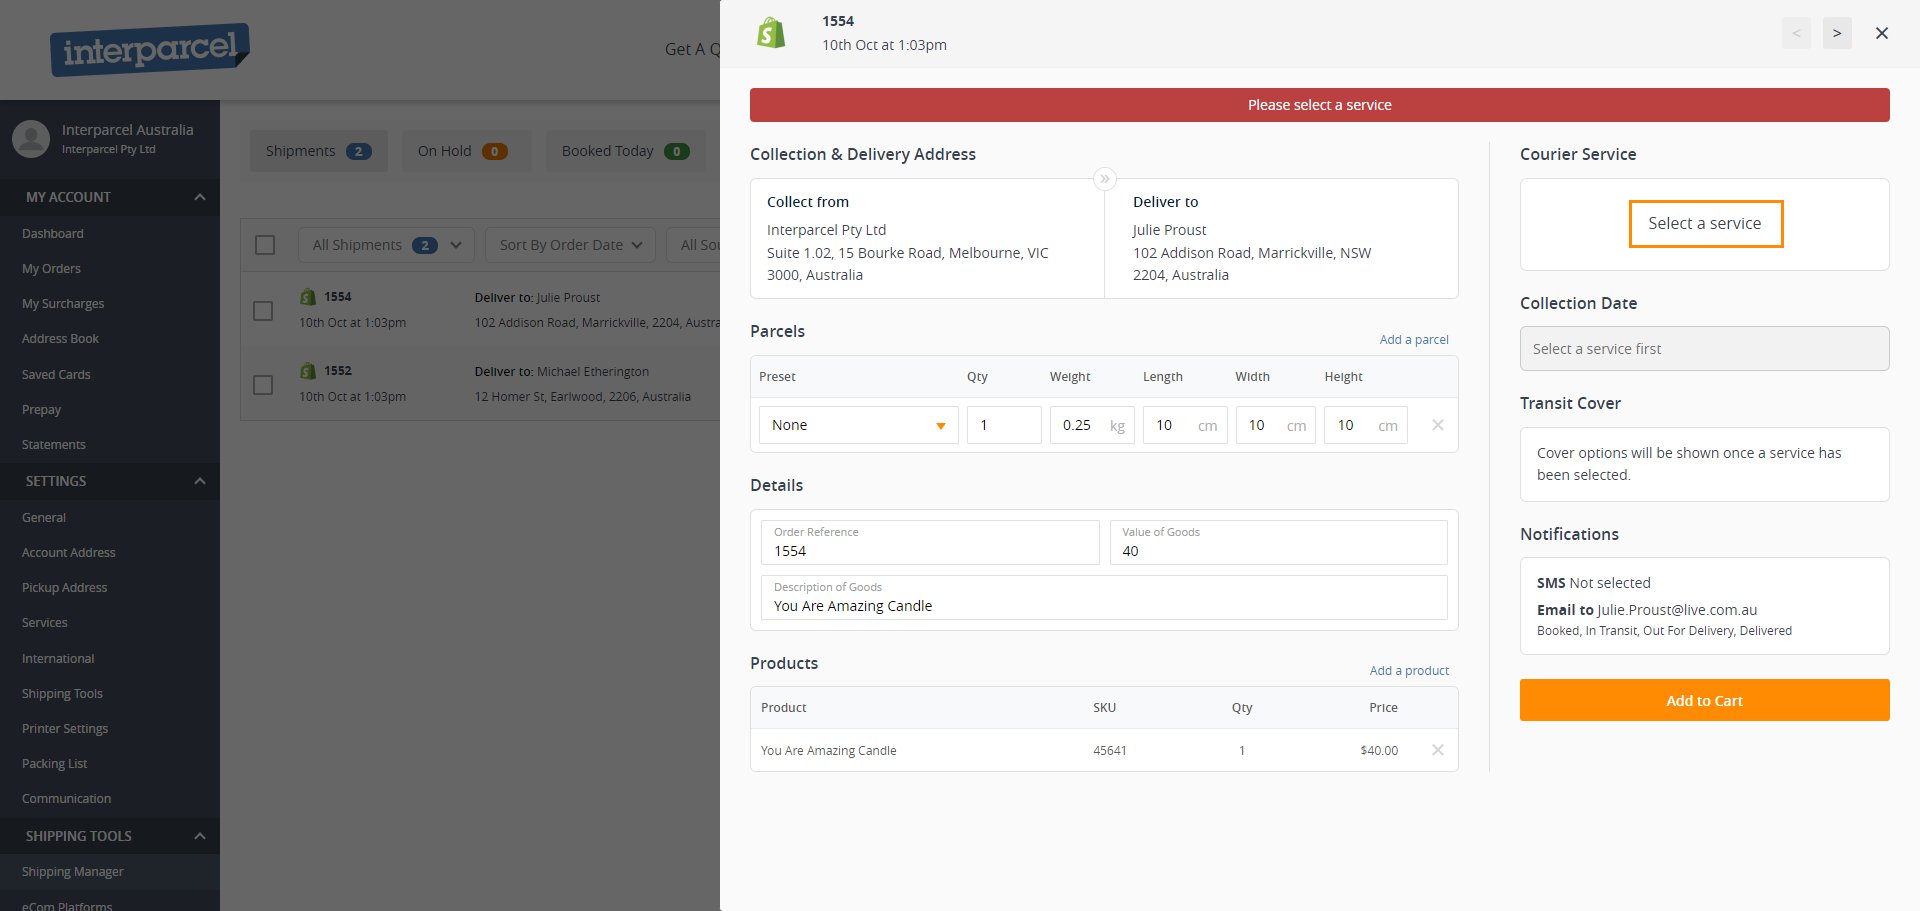
- Your order details will then appear in the Shipping Manager.
- If an order is missing required details, it will be marked as an Error. Select All Shipments to view error notifications and update missing information.
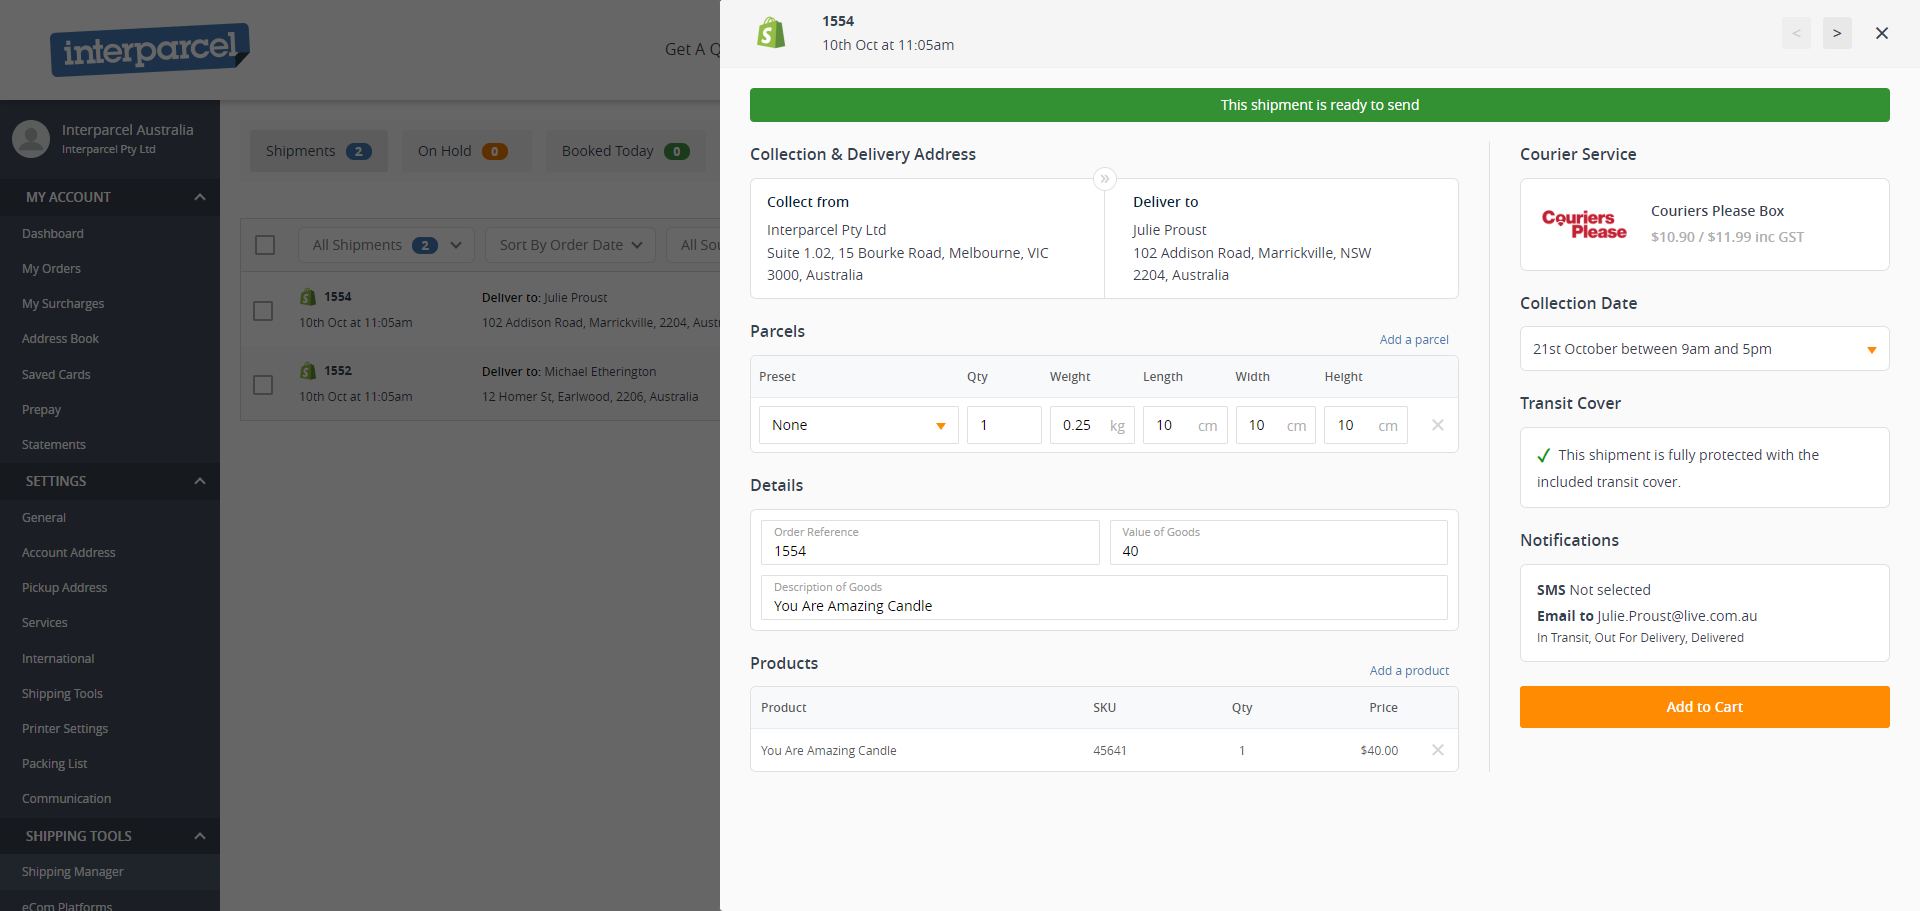
- Click on an order to edit details such as Collection Date, Parcel Dimensions, Addresses, Customs Information, Transit Cover, Courier Service, and Recipient Notifications.
- To add additional transit warranty, click the shield icon. Interparcel provides up to $100 coverage by default. Additional coverage can be purchased, except for restricted items.
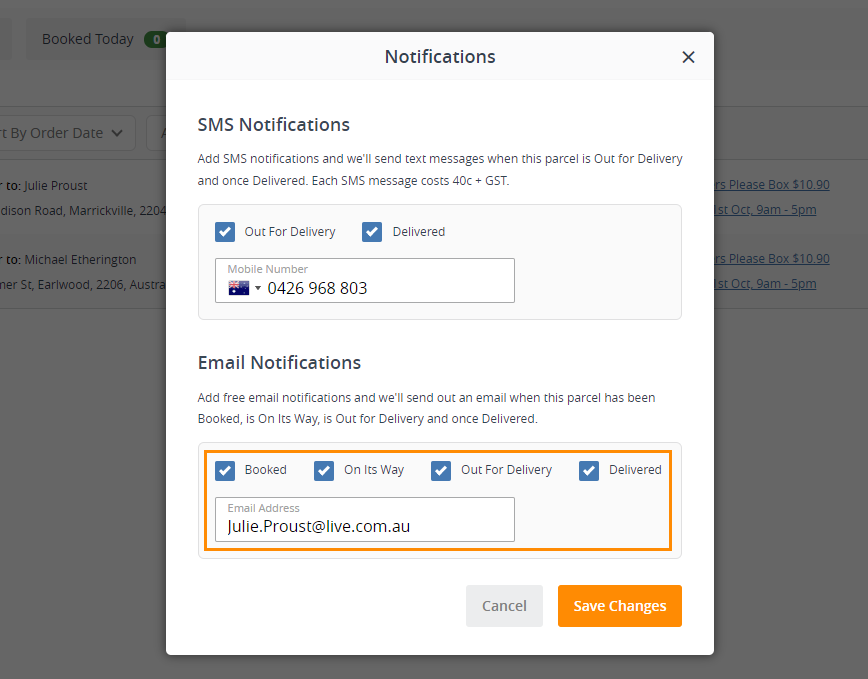
- Click the email icon on an order listing to enable SMS or email notifications for your recipient. You can automate notification settings for all orders in your Communication Settings.
- For SMS notifications, select Out for Delivery and/or Delivered. Note that SMS alerts cost $0.40 per message.
- For email notifications, select Booked, On Its Way, Out for Delivery, and/or Delivered. Email notifications are free.
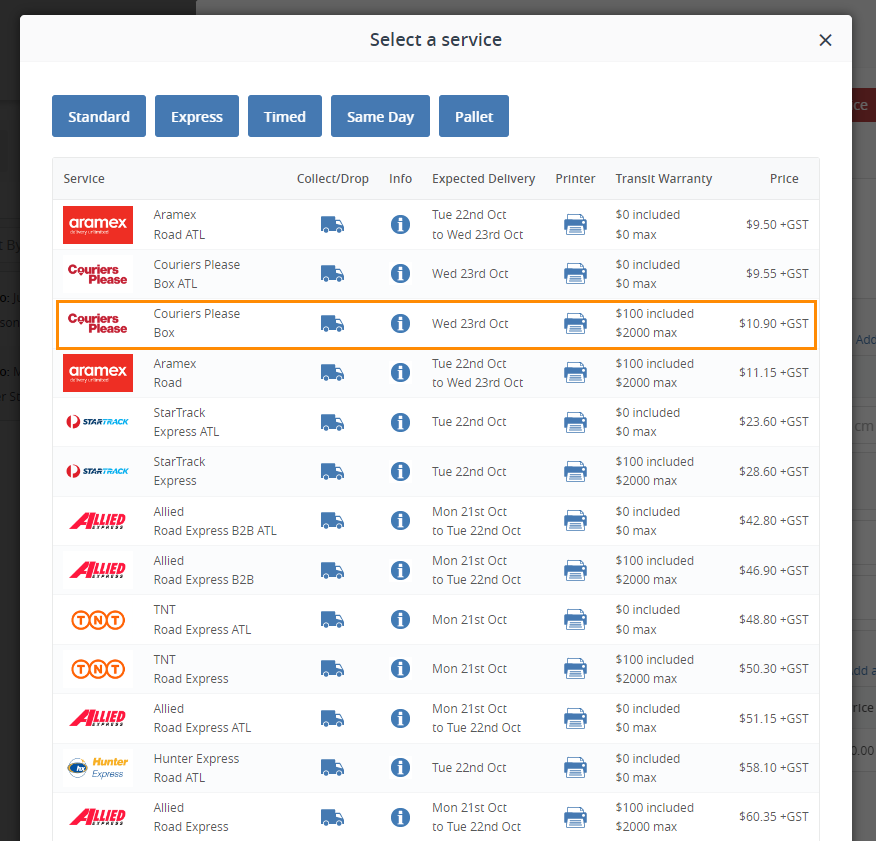
- Select a courier service either through the order listing or by clicking Select Service in the order editing window.
- Click on the preferred courier quote to apply it to the order.
- The selected courier and shipping cost will be reflected in the order listing.
- Automate service selection using the Rule Manager or by enabling live checkout rates in Shopify and WooCommerce.
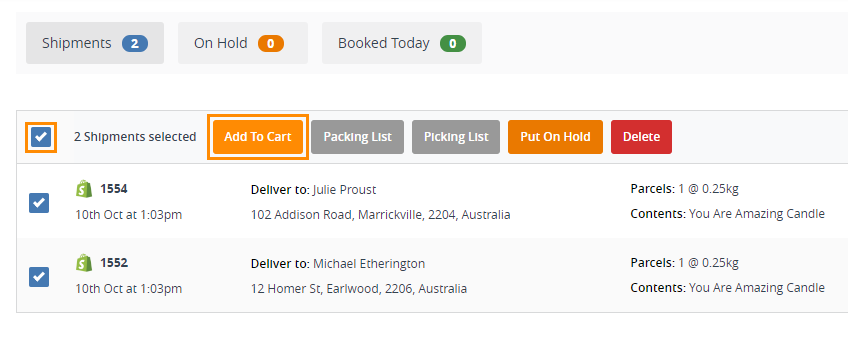
- To finalize bookings, select orders and click Add to Cart. Click the cart icon to review and process payments.
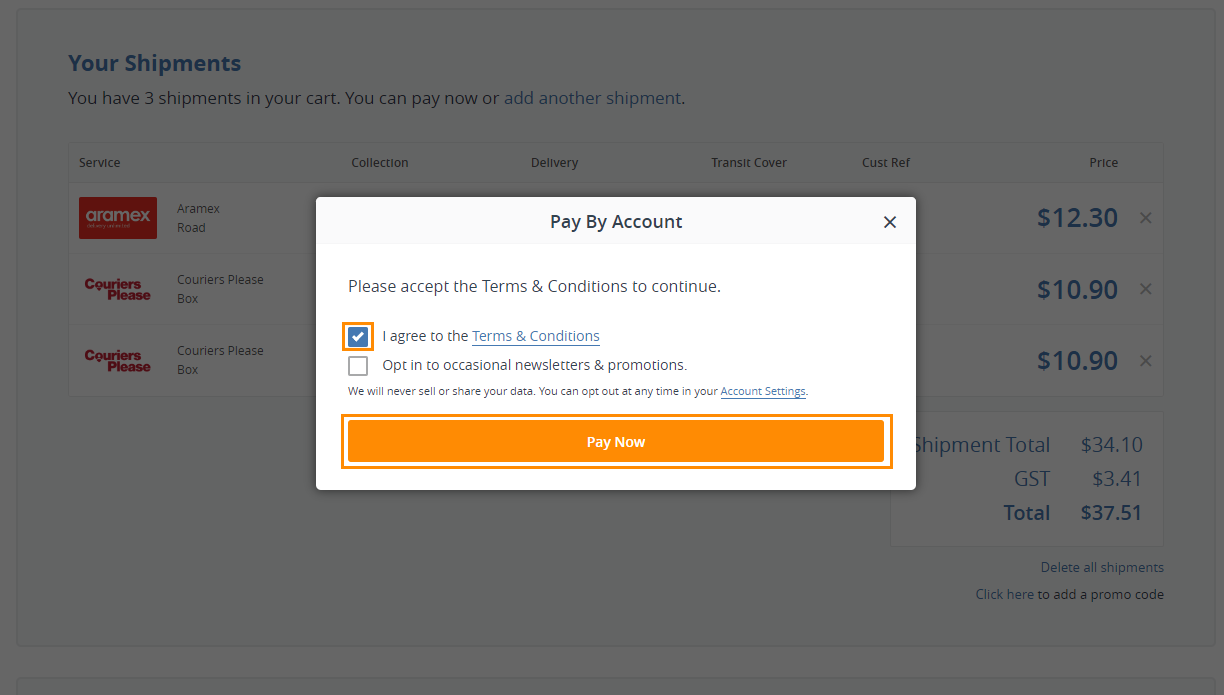
- Choose your preferred payment method.
- Agree to the Terms & Conditions and click Pay Now.
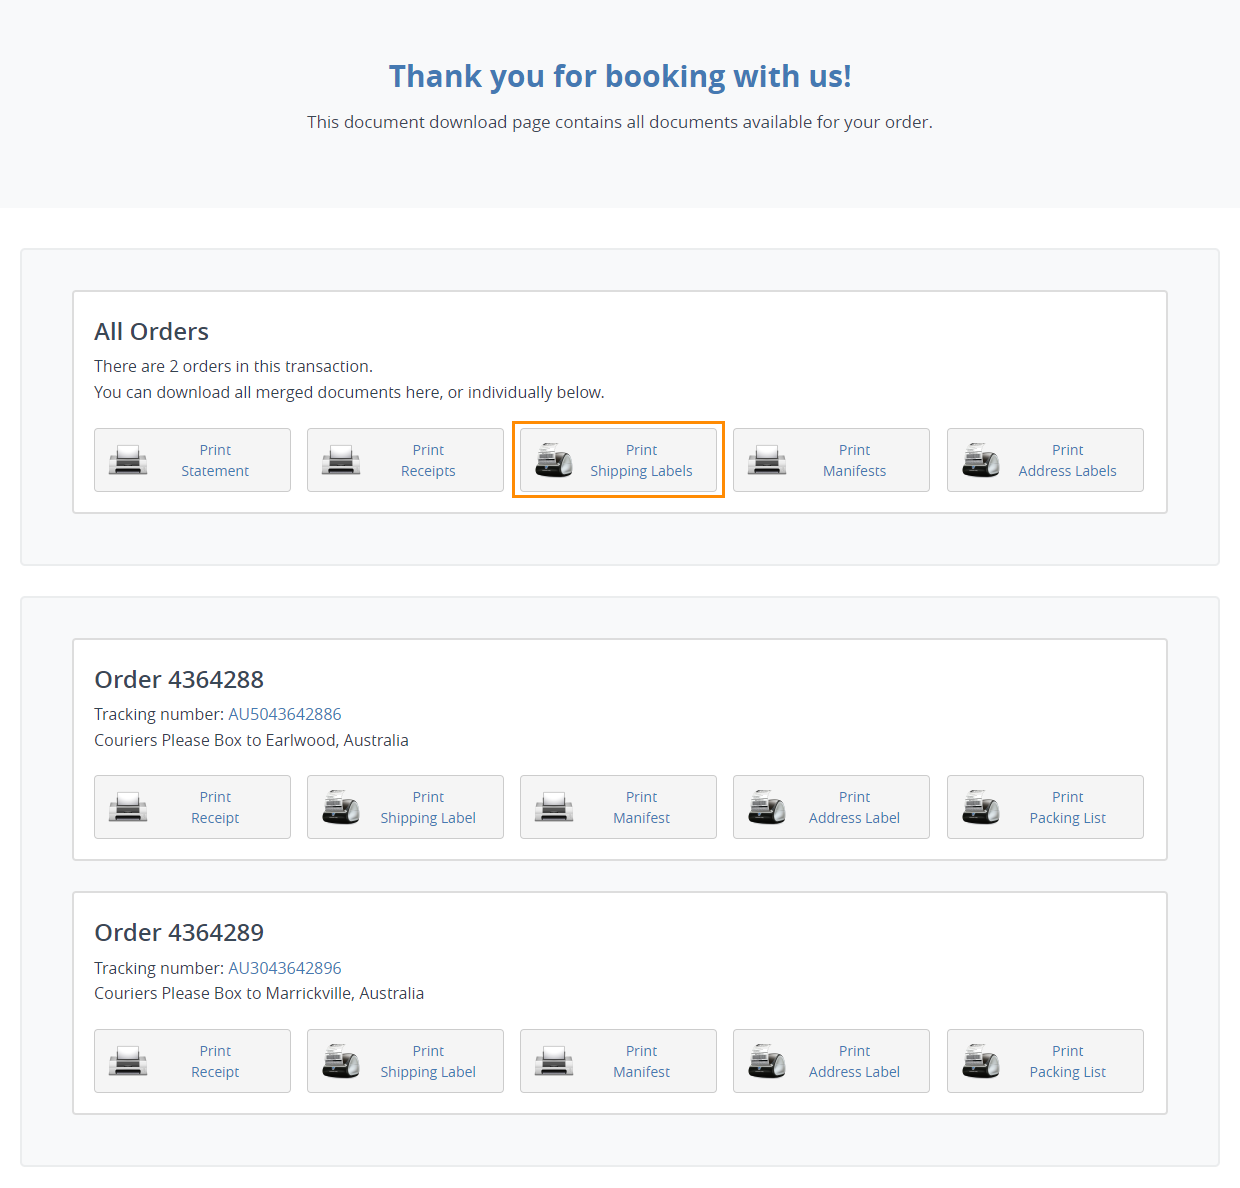
- Once payment is complete, print your shipping labels using Print Manager or download them as PDFs.
- Your shipment is now booked!


Related Guides
FAQs
Can I use the Shipping Manager for manual shipments?
Yes! Click Create Shipment to manually create and process orders.
How do I integrate my store?
Follow our eCommerce integration guides for step-by-step instructions.
What eCommerce platforms does Interparcel integrate with?
We support Shopify, WooCommerce, Magento, eBay, BigCommerce, Etsy, and more. See the full list here.